...
NocTel provides a feature which allows you to check and verify the 911 address associated with an extension directly from the handset. Dial *11 and our systems will inform you of the address that will be reported to dispatch in a real emergency. As an added bonus, NocTel will also send a test notification to the emergency contact on file, so you can ensure your notifications are properly received by the parties that may want it.
Configuring e911 Email Notifications
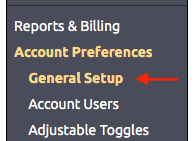
- Login to the NocTel control panel and click Account Preferences > General Setup
- In the General Setup Tab, input email addresses of person(s) to receive notifications of all 911 calls in the space for Emergency Email:
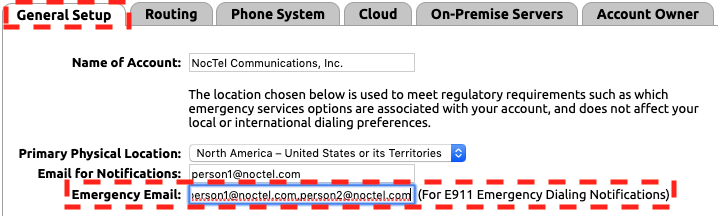
- Click Submit.
| Info | ||
|---|---|---|
| ||
You can add multiple contacts, separating each with a comma and no spaces. |
Configuring an e911 Address to a Number
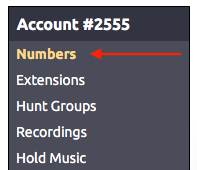
- Login to the NocTel control panel and click on NumbersNumbers in the main menu.
- Select a number from the list in the account and click on it. NocTel recommends that you add the emergency address to the main number for the location.
- Click on the Emergency Address Tab.

- Use the Add a New Emergency Address section to input the e911 address.
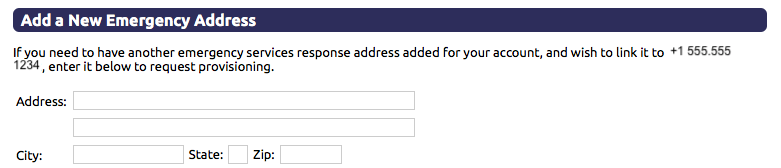
- Click Submit.
Once you click submit, the request to link the address to the number is sent to our team. The NocTel team then provisioned the address to the number; this process is usually completed within 60 minutes of receiving the request.
| Info | ||
|---|---|---|
| ||
An address only needs to be linked to one number within the account. If you have multiple numbers that are used at the same e911 address, the address only needs to be linked to one number! |
Using a Provisioned e911 Address
...
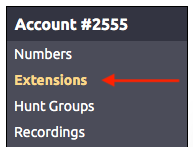
- Login to the NocTel control panel and click on Extensions in the main menu.
- Select a extension from the list in the account and click on it to open the extension’s options page.
- Locate the Emergency widget and click > to expand it. If the widget is not visible click on the gear icon in the upper right to unhide the advance options.

- From the expanded list click the correct emergency address that corresponds to the physical emergency address of where the device is located.
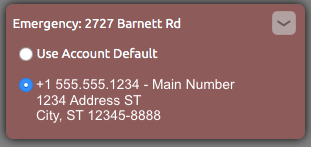
- Click outside the widget to save the selection.
Assigning a Default e911 Address for an Account
...
| Content by Label | ||||||||||||||||||||
|---|---|---|---|---|---|---|---|---|---|---|---|---|---|---|---|---|---|---|---|---|
|
| Page properties | |||
|---|---|---|---|
| |||
| |