Schedules can be used in an extension's inbound behavior to allow for routing options base on the schedules.
Creating a Schedule
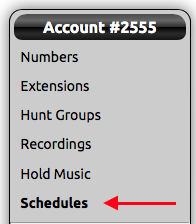
- Log into the NocTel Control Panel
- Click "Schedules” on the left-hand side of the NocTel Control panel.
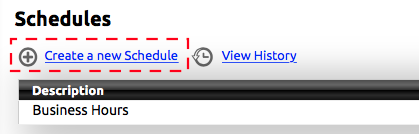
- Click the blue “Create a new Schedule” link at the top of the schedules list.
- In the Edit Schedule page enter the following information:
- Description: give the schedule a distinct name.
- BelongsTo: the schedule can be assigned to a specific extension, or left to belong to the whole account. Most users should leave this set to Account.
- Time Zone: the time zone is automatically set to match your accounts default time zone, this can be changed if needed.
Valid Days: use the check boxes to select the days of the week that apply to the schedule.
All: selects all days.
- Weekdays: selects only Monday through Friday.
None: deselects all check boxes.
- Start Time: enter the time that the schedule starts in a 24-hour format. (Noon is entered as 12:00, 1:00 PM is entered as 13:00, and so on.)
- End Time: enter the time that the schedule ends using 24-hour format.
- Start Date: If the schedule is going to have a start and end date such as a holiday schedule enter the start date here, otherwise leave as is. Enter the date in a YYYY-MM-DD format.
- End Date: enter the end date in a YYYY-MM-DD format if the schedule will end on a certain date, otherwise leave as is.
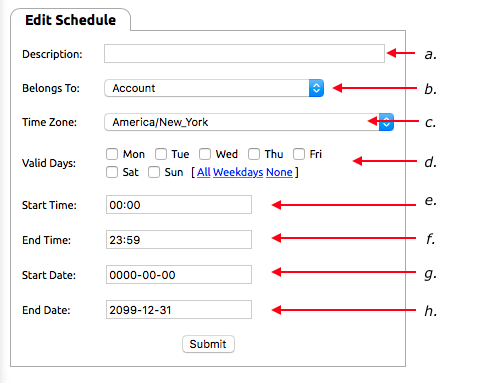
- Click Submit, to save.
For info on using schedules inside of an extension's inbound behavior please see the article on Time of Day Routing
Related articles