The Grandstream HT802 is an analog telephone adaptor (ATA) with 2 Foreign Exchange Subscriber (FXS) ports for connecting an analog phone to your NocTel Talk Host VoIP system.
Add a Generic SIP extension.
| Info | ||
|---|---|---|
| ||
|
Add a Grandstream Extension
- In the NocTel portal, click Extensions > Add a new Extension.
- Select the Generic SIP options In the Grandstream section and click add device.
- On the new extension’s options page, give the device a name and extension number by clicking the pencil icon. Click save.
- Click the > in the Preference for SIP Device and enter the device’s MAC address in the field.
- Click associate to save the MAC addressGrandstream Device Provisioning page complete the following field in step 3:
- Device MAC: the phone's 12-digit MAC address. The MAC address can be found on the bottom of the device.
- Ext. #: Give the extension a distinct extension number not currently in use in your account.
- Line: For all standard applications, leave as 1st
- Extension Name: Enter a descriptive name for the extension.

- Click Submit.
Finding the Grandstream HT802’s IP
...
Address
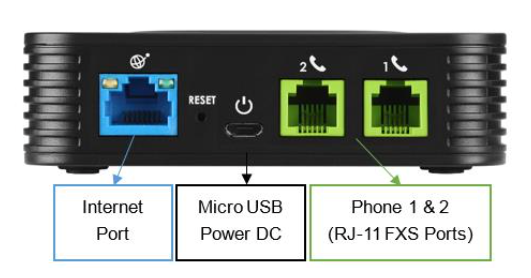
- Connect the ATA Grandstream to power using the included Micro USB power adaptor.
- Connect the ATA the Grandstream to an active network connection in the blue Internet port.
- Connect an analog phone to Phone 1 port.
- On the connected phone, dial ***
- When prompted for a menu option, dial 02. Take note of the IP address provided.
Accessing the
...
Grandsteam's Web Interface and Provisioning
...
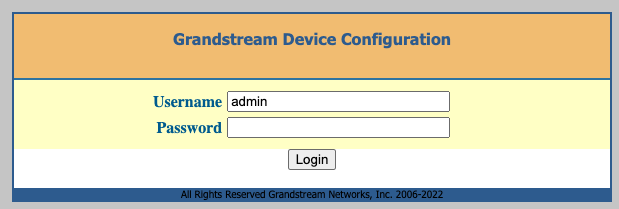
- Navigate to the IP address for the ATA.
- Login using username: admin and password: admin
 tap
tap - Click the FXS Port 1
- Advanced Settings tab at the top of the page. Set the following parameters:
- Account Active: Yes Primary SIP Server: use the SIP Host list
- Locate the Firmware Upgrade and Provisioning section. In the Config Server Path field, enter: noctel.com
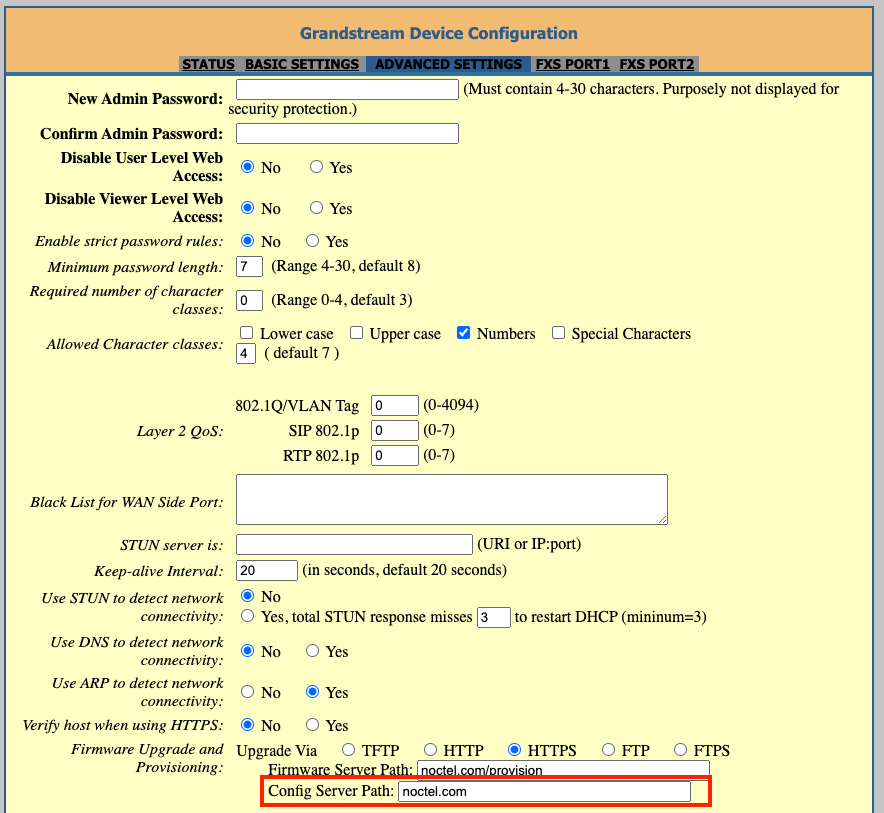
- Click Apply at the bottom of the page.
- Click Reboot at the bottom of the ATA’s extensions page under “How to configure your generic SIP device.”
- Prefer Primary SIP Server: No
- SIP User ID: use the SIP User ID list at the bottom of the ATA’s extensions page under “How to configure your generic SIP device.”
- Authentication ID: use the SIP User ID list at the bottom of the ATA’s extensions page under “How to configure your generic SIP device.” Authentication Password: use the SIP Password list at the bottom of the ATA’s extensions page under “How to configure your generic SIP device.”
- Press Apply at the bottom of the page to save the configuration. The device will take a few minutes to reboot and then will appear online in the NocTel portal.
- Connect the analog device in the phone 1 port for the ATA. You can not make and receive calls.

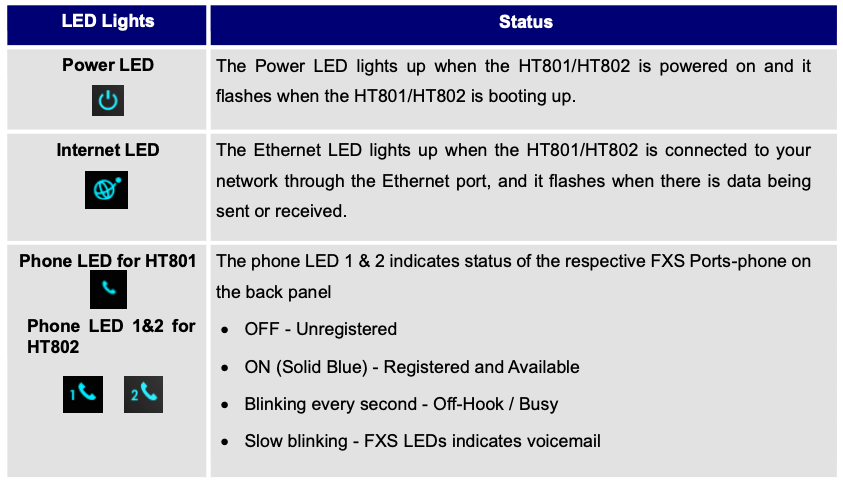
Grandstream HT802 LED Pattern Description
- page. The device will provision automatically; the process can take several minutes before the extension shows as online in the control panel.
Grandstream HT802 LED Pattern Description
Factory Resetting Grandstream HT802
| Expand | ||
|---|---|---|
| ||
To reset default factory settings using the reset button please follow the steps above: 1. Unplug the Ethernet cable. |
| Expand | ||||||||||||||||
|---|---|---|---|---|---|---|---|---|---|---|---|---|---|---|---|---|
| ||||||||||||||||
Reset default factory settings using the IVR prompt: 1. Dial *** for the voice prompt. Encode the MAC Address: 1. Locate the MAC address of the device. It is the 12-digit HEX number on the bottom of the unit.
For example: if the MAC address is 000b8200e395, it should be keyed in as “0002228200333395”. |
| Expand | ||
|---|---|---|
| ||
Reset from Web Interface (Reset Type): 1. Access your HT801/HT802 UI by entering its IP address in your favorite browser. 2. Enter your admin password (default: admin). 5. Press the Reset button (after selecting the reset type):
|
| Expand | ||
|---|---|---|
| ||
|
Grandstream HT802 Documentation
...