Adding Agents can be performed by users with Manager or Supervisor level access:
- Using the Flow domain provided, access the interface with manager supervisor credentials.
- Click Agents in the left-hand menu.

- In the Agent List view, click +New located at the bottom left of the agent list.
- Use the Team drop-down menu, to optionally added the agent to a specific Team.
- In the Agent ID field, give the Agent a unique numeric Agent ID or for the next available Agent ID leave the filled blank. The Agent will use this ID as their username when accessing the Flow Agent Dashboard.
- In the Password field, assign the Agent a password. The Agent will use this password to access the Flow Agent Dashboard. An alphanumeric password of 8 or more characters is highly recommended.
- In the following three fields enter the Agent’s First Name, Last Name and an Email in the fields provided.
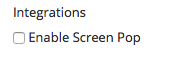
- Under Integrations you can enable the Screen Pop feature by checking the box. Screen Pops allow for visual information from the call to be displayed to the agent if the queue the call is coming from has been enabled to send screen pop information.
- Under Agent Skill Proficiency is a list of all skills that have been added to the interface (these will differ from what is shown below). Use the drop-down list next to each to select the Agent’s proficiency level in that skill. 9 is the highest proficiency for a skill and 1 is the lowest. A proficiency skill of 0 indicates that the skill does not apply to the agent or they do not possess the skill.

- Under Eligible Queue Membership enable the Agent to accept calls from a given Queue by checking the box next to each Queue name.
- Click the Save button to add the new Agent to the account.
A agent photo can be added by clicking on the generic photo Icon but is not required for making a new agent. 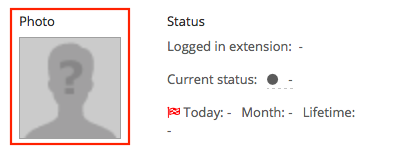
Related articles
Overview
Content Tools